Install Yatra
You install Yatra the same way you install any WordPress plugin — there is no SaaS to sign up for. Yatra is a tour-operator booking office that runs entirely on your own site.
First time in WordPress? After you activate the plugin, open Yatra in the left sidebar and use Your WordPress admin (Yatra) as a plain-English map of every menu item.
Before you start
Make sure your site meets these:
| What | Minimum | Recommended |
|---|---|---|
| WordPress | 6.0 | 6.4 or newer |
| PHP | 7.4 | 8.1 or newer |
| MySQL / MariaDB | 5.7 / 10.3 | MySQL 8 / MariaDB 11 |
| Memory | 128 MB | 256 MB or more |
| HTTPS | Required for live payments | Always recommended |
Not sure what your hosting has?
Open Tools → Site Health → Info in WordPress. The PHP and database versions are listed there.
Step 1 — Install the free plugin
The free Yatra plugin gives you the full booking office — trips, departures, customer accounts, native checkout (PayPal + Pay Later), enquiries, reviews, and the email pipeline. It's hosted free on its official WordPress.org plugin page.
You have three options:
- The easy way — In WordPress, go to Plugins → Add New, search Yatra, click Install Now, then Activate.
- If you have the ZIP file — Go to Plugins → Add New → Upload Plugin, choose
yatra.zip, click Install Now, then Activate. - The technical way — drop the
yatra/folder intowp-content/plugins/over SFTP, then activate from the Plugins screen.
When you activate, Yatra does a one-time setup behind the scenes:
- Creates the database tables for bookings, customers, payments, departures, and enquiries.
- Registers the trip-related custom post types and taxonomies (destinations, activities, trip categories, difficulty levels, attributes).
- Seeds the default email templates.
- Adds a new Yatra item to the WordPress admin sidebar.
Step 2 — Install Yatra Pro
Yatra Pro is a separate plugin that unlocks licensed modules — Stripe, Razorpay, Mollie, Paystack, Square, Authorize.Net, and Bank Transfer gateways; Dynamic Pricing; Flexible / Scheduled Payments; Email Automation sequences; Google Calendar sync; Additional Services upsells; Trip Consent waivers; Mailchimp / GA4 / Facebook Pixel; Abandoned Booking Recovery; Custom Landing Pages; Advanced Discount; Dynamic Form Field; and more. The free plugin must be installed and active first.
View Yatra Pro plans →If you bought a Pro license:
- Make sure the free Yatra plugin is installed and active first. Yatra Pro depends on it.
- Download
yatra-pro.zipfrom your wpyatra.com account. - Go to Plugins → Add New → Upload Plugin, choose the ZIP, Install, and Activate.
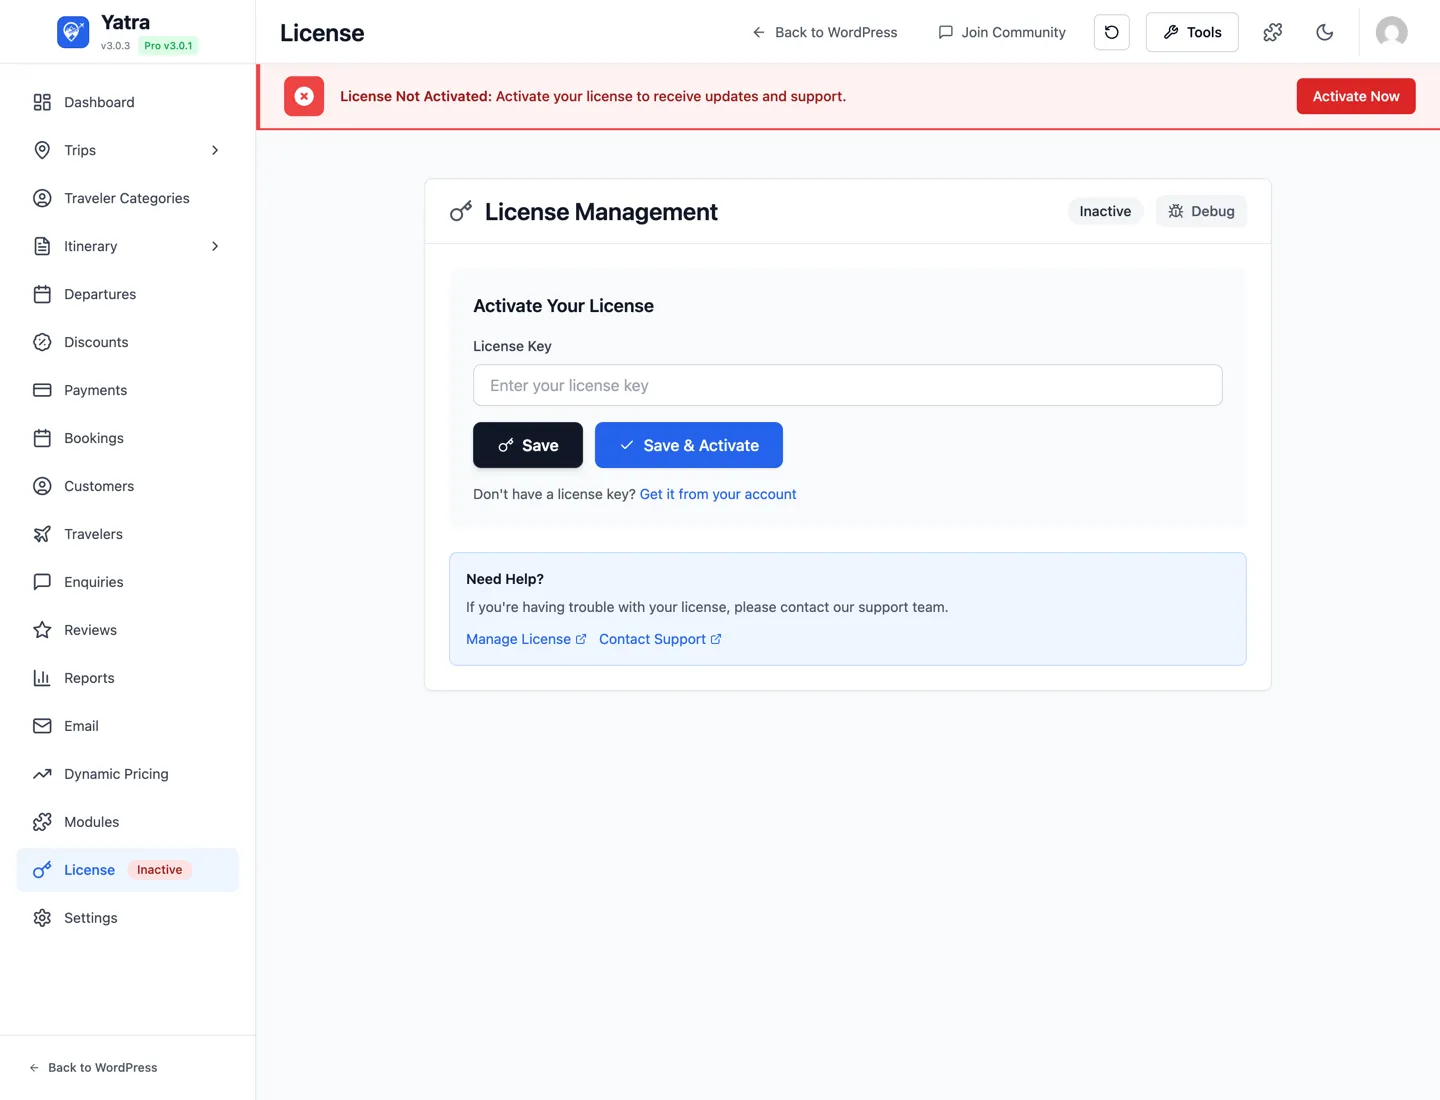
- Open Yatra → License. Paste your license key, then click Save & activate.
- Open Yatra → Modules and turn on the modules your plan includes.
composer install --no-dev --optimize-autoloader from the yatra-pro folder before activating.Step 3 — Confirm Yatra is healthy
Run this quick checklist before adding real content.
| Check | Where |
|---|---|
| The Yatra item appears in the admin sidebar | Admin sidebar |
| Permalinks are not set to Plain | Settings → Permalinks |
Visiting /wp-json/yatra/v1/ returns JSON (not a 404) | Browser address bar |
Visiting /book/ shows the booking landing page (even if empty) | Front of your site (the slug matches Permalink → Booking Base) |
| License says Active PRO | Yatra → License |
If any of these are red, head over to Troubleshooting.
Multisite
Yatra is Network: true — it can be activated across a WordPress multisite network.
- Place the
yatra/(andyatra-pro/) folder intowp-content/plugins/. - Go to Network Admin → Plugins and choose Network Activate.
- Visit each subsite once to let Yatra create that subsite's tables.
- Activate the Pro license per subsite (one license slot each by default).
What's next
- Run the Quick start — picks pages, currency, and gateways and gets you to your first published trip in under an hour.
- Or jump straight to Trips & catalog to start building.